Difference between revisions of "Using Sendle"
From Spiffy Stores Knowledge Base
| (6 intermediate revisions by one other user not shown) | |||
| Line 10: | Line 10: | ||
Before you can start using the API, you'll need to attach a credit card to your account for invoicing. This card will need to be in the currency you're going to be creating orders in. | Before you can start using the API, you'll need to attach a credit card to your account for invoicing. This card will need to be in the currency you're going to be creating orders in. | ||
== 2. Generate an API Key == | == 2. Generate an API Key == | ||
| − | |||
| − | |||
| − | |||
To generate your key: | To generate your key: | ||
* Sign into your Sendle dashboard. | * Sign into your Sendle dashboard. | ||
| Line 19: | Line 16: | ||
* Add your website and any other information (this is used for identification purposes only). | * Add your website and any other information (this is used for identification purposes only). | ||
* Press the 'Claim Access' button to display your API key and Sendle ID. | * Press the 'Claim Access' button to display your API key and Sendle ID. | ||
| + | https://files.readme.io/3431fd8-sendle-generate-api2x.gif | ||
| + | == 3. Save the API Key == | ||
| + | <gallery widths="200px" heights="200px" class="right"> | ||
| + | Image:Sendle3.jpg|Save the API Key | ||
| + | </gallery> | ||
| + | Once your API key has been generated, save it for the next step by copying it to your clipboard. | ||
| + | |||
| + | Also, you will need to take note of your Sendle ID. | ||
| + | == 4. Activate the Sendle Fulfilment Service == | ||
| + | <gallery widths="200px" heights="200px" class="right"> | ||
| + | Image:Sendle4.jpg|Activate Fulfilment Service | ||
| + | </gallery> | ||
| + | From the Fulfilment Services page in your Spiffy Stores admin, click Activate for the Sendle service, and paste the API Key into the form. | ||
| + | |||
| + | Use the context menu to paste the token from the clipboard, or use the keyboard shortcut for Paste. | ||
| + | |||
| + | You should also copy the Sendle ID as well. | ||
| + | |||
| + | You can tick the option to make this fulfilment service the default service for your store, if necessary. You should do this if you are using Sendle to ship the majority, if not all, of your store's items. | ||
| + | |||
| + | Update the settings, and your Sendle account should now be connected to your Spiffy Store. | ||
| + | |||
| + | == 5. Using the Sendle Shipping Calculator == | ||
| + | Once you have enabled Sendle as a Fulfilment service, you can then enable automated shipping calculations in your checkout using the Sendle API. To do this, follow the instructions below. | ||
| + | # Go to the Preferences -> Shipping & Handling section of your store's admin | ||
| + | # Create a weight based shipping rate | ||
| + | # Click the "Switch to a Shipping Agent rate calculator" link | ||
| + | # Under "Choose a Shipping Agent", select "Sendle" | ||
| + | # Save your rate | ||
== Further Reference == | == Further Reference == | ||
* [[Using a fulfilment service]] | * [[Using a fulfilment service]] | ||
* [[Shipping Products using a fulfilment service]] | * [[Shipping Products using a fulfilment service]] | ||
| − | * [[ | + | * [[Activating Sendle Fulfilment]] |
* [[Shipping Orders with batch fulfilment]] | * [[Shipping Orders with batch fulfilment]] | ||
Latest revision as of 14:45, 3 November 2022
Spiffy Stores provides an easy to use integration with Sendle. There are a number of steps that you need to go through in order to connect your store to your Sendle account.
You can read more about how to generate an API key for your Sendle account here https://developers.sendle.com/reference/getting-your-api-key.
Contents
1. Signup with Sendle
You can sign up for a new account at https://www.sendle.com/users/sign_up
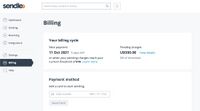
Before you can start using the API, you'll need to attach a credit card to your account for invoicing. This card will need to be in the currency you're going to be creating orders in.
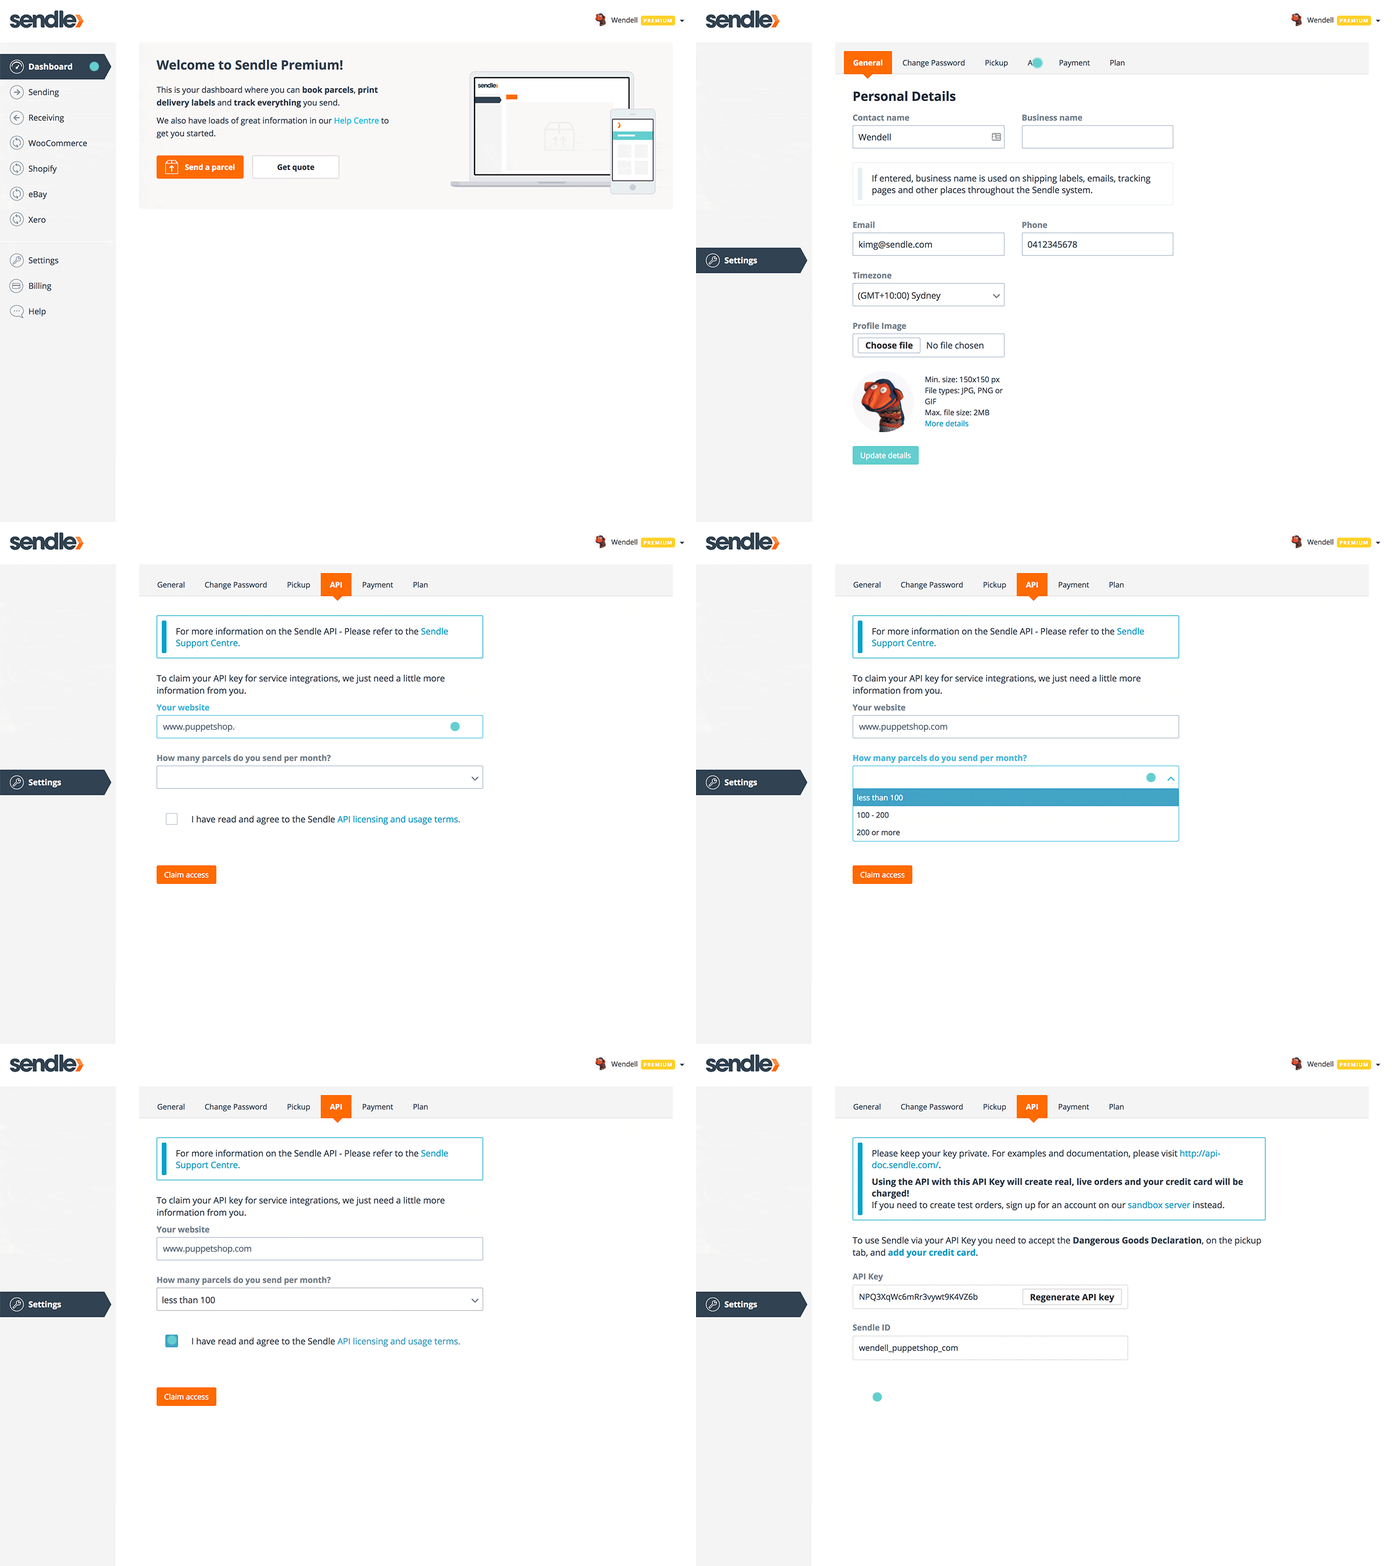
2. Generate an API Key
To generate your key:
- Sign into your Sendle dashboard.
- Go to 'Settings'.
- Go to the API tab.
- Add your website and any other information (this is used for identification purposes only).
- Press the 'Claim Access' button to display your API key and Sendle ID.

3. Save the API Key
Once your API key has been generated, save it for the next step by copying it to your clipboard.
Also, you will need to take note of your Sendle ID.
4. Activate the Sendle Fulfilment Service
From the Fulfilment Services page in your Spiffy Stores admin, click Activate for the Sendle service, and paste the API Key into the form.
Use the context menu to paste the token from the clipboard, or use the keyboard shortcut for Paste.
You should also copy the Sendle ID as well.
You can tick the option to make this fulfilment service the default service for your store, if necessary. You should do this if you are using Sendle to ship the majority, if not all, of your store's items.
Update the settings, and your Sendle account should now be connected to your Spiffy Store.
5. Using the Sendle Shipping Calculator
Once you have enabled Sendle as a Fulfilment service, you can then enable automated shipping calculations in your checkout using the Sendle API. To do this, follow the instructions below.
- Go to the Preferences -> Shipping & Handling section of your store's admin
- Create a weight based shipping rate
- Click the "Switch to a Shipping Agent rate calculator" link
- Under "Choose a Shipping Agent", select "Sendle"
- Save your rate


